Snowboard bindings attach your boots to your snowboard. They transfer movements made by the rider to their snowboard and are therefore an important part in getting the best performance from your snowboard.
There are many factors that need to be considered when choosing which snowboard bindings to buy. These factors include flex, size, type and cost.
Disclaimer: Some links in this article are affiliate links, which means that if you purchase through them I receive a small commission, at no extra cost to you. This helps cover the cost of running this blog. Thanks for your support!
Anatomy of a Snowboard Binding
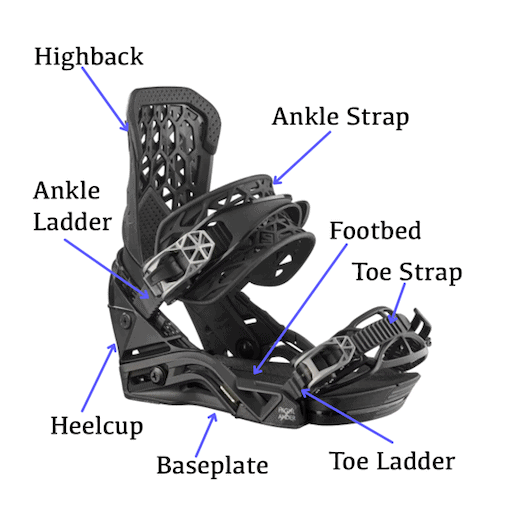
Before we dive into all the things you need to consider when buying a snowboard binding, let’s first look at the bindings component parts. These are all parts I will refer to in this article.
- Highback
- Forward lean adjuster
- Heel/ankle strap
- Heel/ankle ladder
- Toe strap
- Toe ladder
- Heelcup
- Footbed
- Baseplate
- Disc
6 Factors to Consider When Choosing Snowboard Bindings
When deciding which snowboard bindings are best for you, there are six factors to consider.
1. Flex
The recommended use of your binding directly corresponds to the stiffness of the binding. This stiffness is referred to as flex. So when we think about how to choose snowboard bindings, it’s crucial to first determine riding style and ability level.
Snowboard bindings are typically listed in 3 different categories:
- All-mountain
- Freestyle
- Free-ride
These refer broadly to the 3 categories of riding styles.
Flex is commonly measured on a scale from 1 to 10 with 1 being the softest and 10 being the stiffest. Sadly flex rating isn’t standardised between brands which makes comparisons a little tricker, but generally speaking you can get the idea. Binding flex roughly links to snowboard boot flex.
Freestyle – soft to medium flex: 1 – 5
Freestyle bindings have the softest flex and are very forgiving. Soft flex (1-2) is ideal for riding rails, jibbing, buttering and tweaking out grabs. However, hitting big kickers and the half pipe requires something with a little more stiffness (flex 5) to maintain stability at speed. A soft-medium flex would be more suitable for that.
A soft flex binding will typically have a shorter highback.
All mountain – medium flex: 4 – 8
All mountain riders like to do it all! From surfing powder, to cruising the groomers with a lap through the park thrown in for good measure. For that reason all mountain bindings offer a medium to medium-stiff flex (4-8). This provides enough support for the terrain without being too much like hard work.
Free-ride – medium to stiff: 5 – 10
Free-ride bindings are the stiffest and therefore provide the most response (8-10). Free-riders are typically aggressive riders who feel at home at fast speeds or in deep powder. A stiff binding may also come with a taller highback since this also adds to the responsiveness.
Choosing snowboard binding flex for beginners
Typically as a beginner you’ll want a soft to medium flex in your bindings, boots and board. As a beginner you won’t yet know what your riding style is, so a softer setup will be easier to learn on. Very soft flexes should be avoided though as their lack of response will prove uncontrollable.
However, it’s worth considering here how much riding you’re likely to do. If you’re only planning to ride one week each winter then you can buy a beginner setup and be happy with that setup for several years.
If you’re planning to ride every weekend throughout the winter you will quickly “outgrow” a beginner setup. In this case you will be better off getting a setup that is slightly more advanced. It will be a little tougher to learn on initially, but you will benefit more as you progress to intermediate level.
The flex of your binding should mirror up to the flex of your snowboard and your boot. It’s counter productive to buy a really stiff binding if you have soft flex snowboard and boots. Pairing a soft binding with a stiff board won’t get optimal performance out of either.
Finally be aware of your own physical strength. Stiffer flexes will be physically more demanding, so if you’re only a slight build you may want to choose a flex 1 or 2 points lower on the scale, despite your riding style.
2. Snowboard Binding Type
The type of snowboard binding refers to the way the binding works – how your boot is attached to the binding. There are two main types of snowboard bindings – strap-in bindings and speed entry bindings. However, in recent years Burton have re-invented the step-in binding in their new patented StepOn bindings.
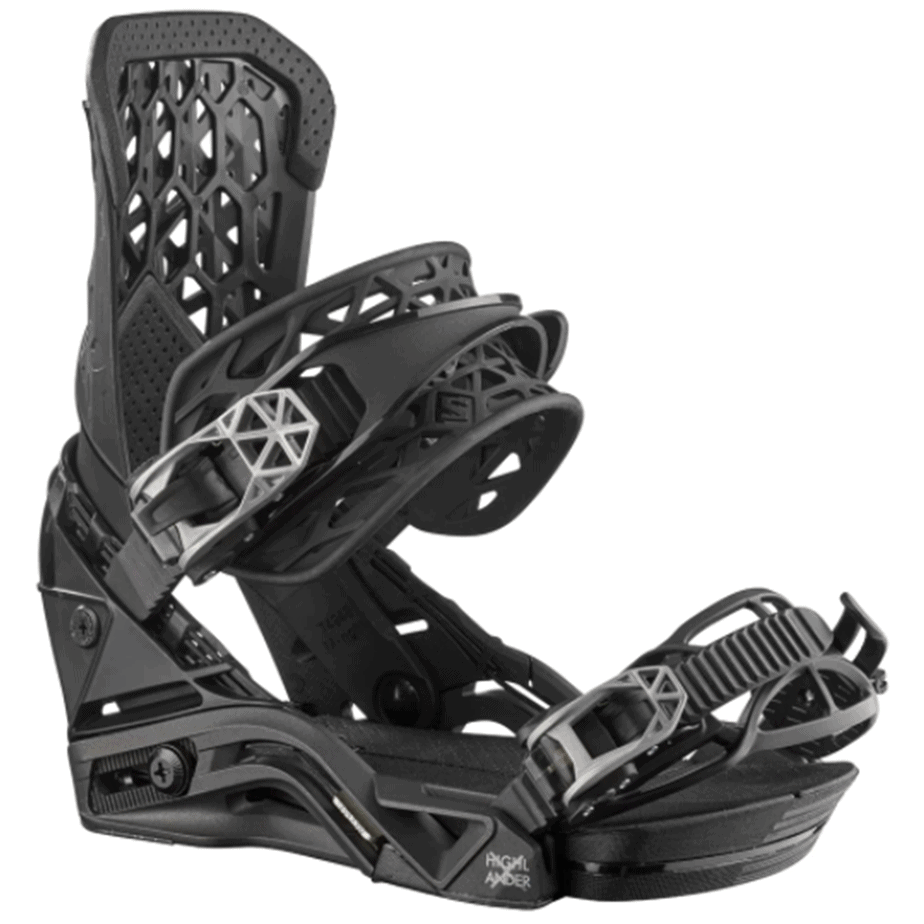
Strap in bindings, such as the Burton Missions have been used in snowboarding for years and are well tried and tested. Two straps, an ankle strap and a toe strap secure the boot to the binding by way of a ratchet mechanism. The main benefit of a strap-in binding is it’s ability to independently adjust binding tightness, however the main drawback is that they are slow and cumbersome to use.
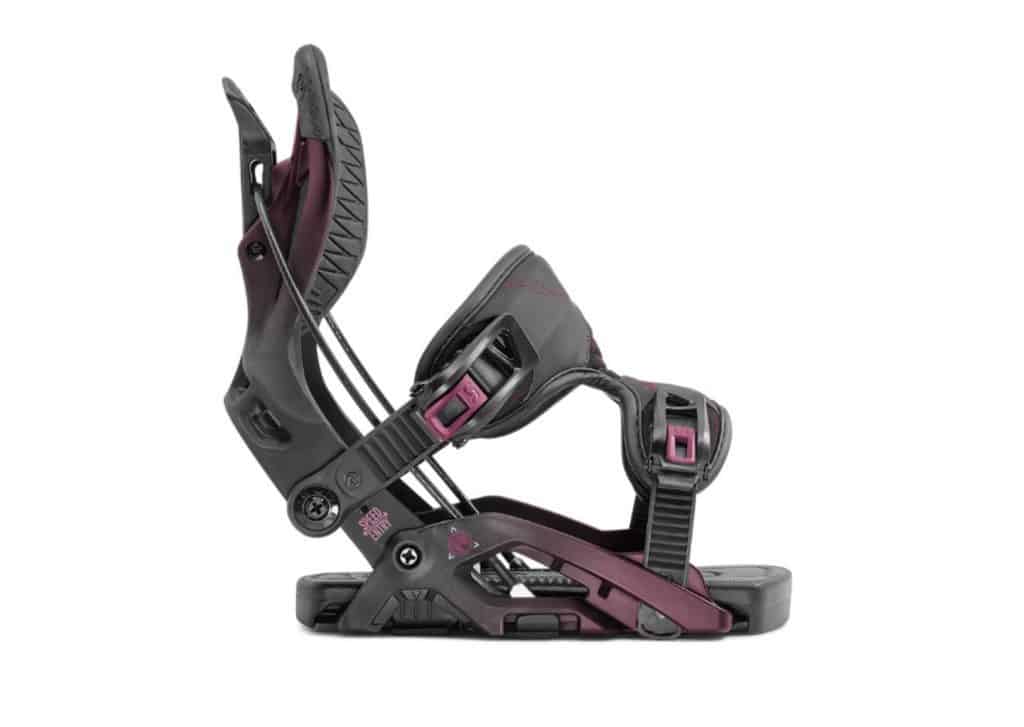
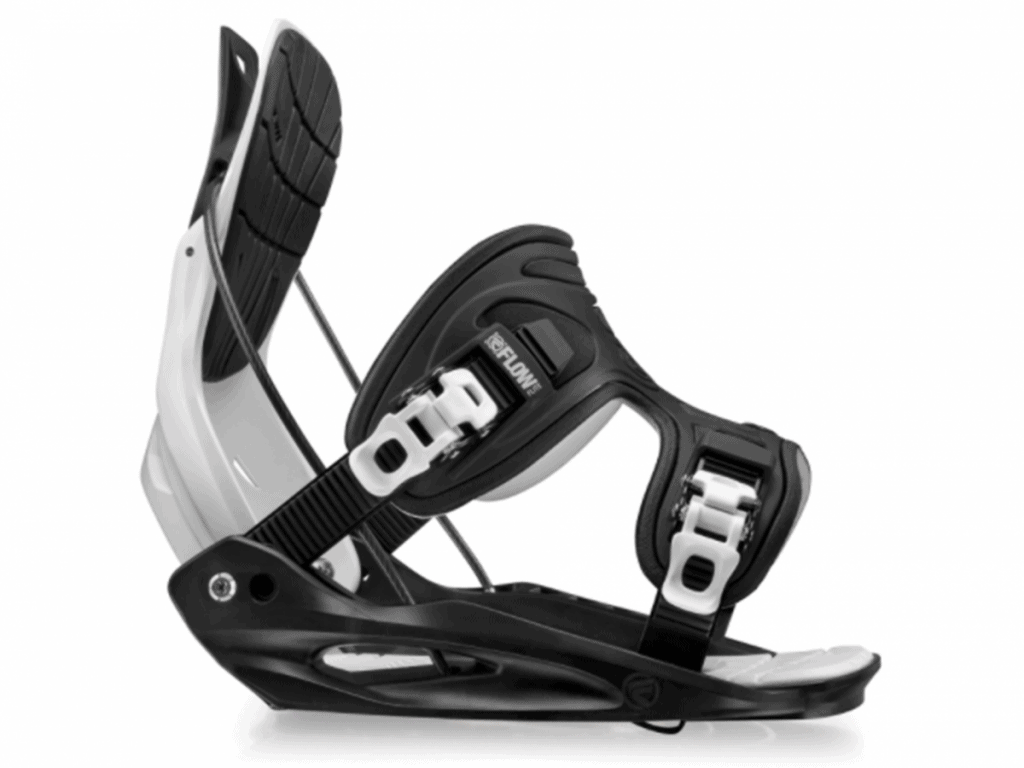
Speed entry bindings have one strap that secures the boot to the binding. Entry to the binding is gained through a hinged highback which locks into place. Speed entry bindings are quick however since they can’t be locked into place whilst sitting down they can be tricky for beginners.
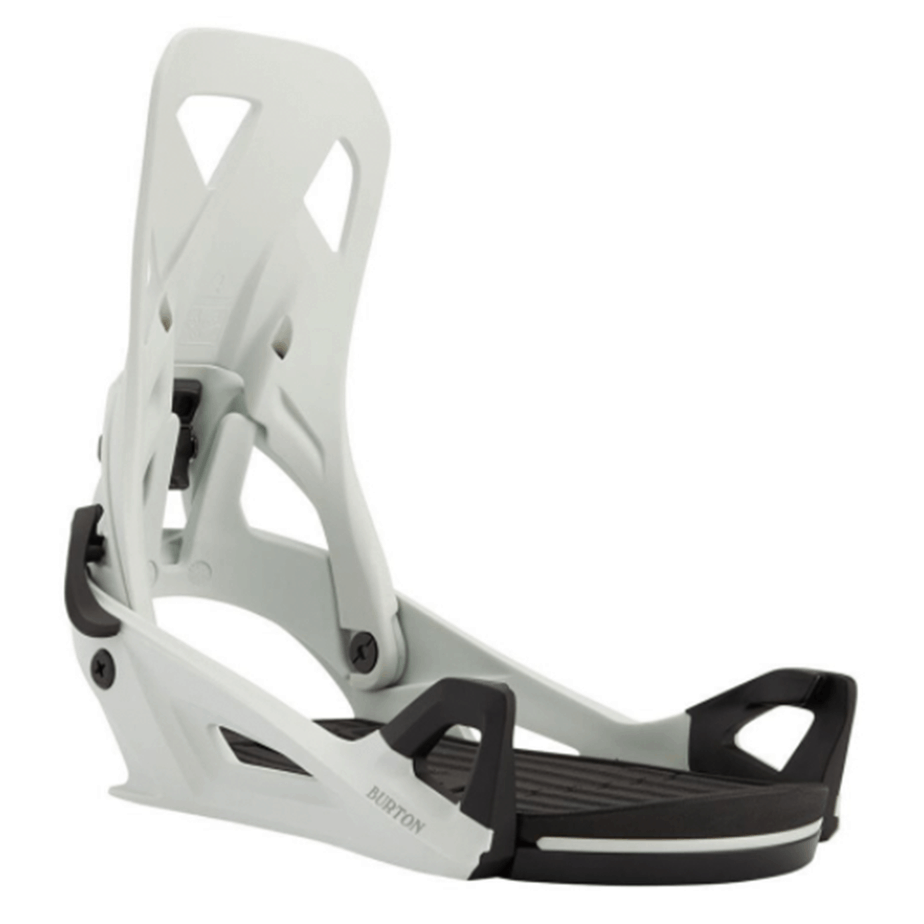
Burton StepOn bindings have 3 click-in points. The boot is attached by stepping the boot onto the binding and clicking these points in place, before finally lowering the highback lever to lock everything in place. These bindings are quick and easy to use however they are only produced by Burton and require a Burton specific boot to match up.
To learn more about the different types of snowboard binding, read this article.
3. Snowboard Mounting Systems, 2×4, 4×4, 3D, channel
The base plate on a binding (the bottom part) has discs and bolts/screws. These screws attach the binding to the snowboard via holes in the snowboard. These discs and screws come in a variety of different mounting patterns. The snowboard binding you choose needs to be compatible with the mounting pattern on your snowboard.
There are four main systems for mounting bindings onto snowboards. Most bindings on the market today are designed to work across all four systems or may come with multiple discs, but it’s worth checking they are a correct match before you make a purchase.
The main snowboard mounting systems
Standard 2×4 and 4×4
These are the typical mounting pattens used by most brands. Both systems use 4 screws per binding to attach the binding to the snowboard. The numbers refer to the distance between the holes. So on the 2×4 pattern, holes along the length of the snowboard are 2cm apart from each other and holes across the width are 4cm apart. On the 4×4 pattern all holes are 4cm apart from each other.


Burton 3-D
This pattern is specific to Burton boards and uses only 3 screws to attach the binding to the snowboard.

The Channel (EST)
The channel system is easy to use and offers infinite stance width and angle options. There are only two screws per binding which attach the binding to the snowboard. This makes adjustments faster and easier than traditional patterns.
I personally quite like the channel system. It makes switching stances a really quick and practical process, so I could be set back for riding powder in the morning and switch to centred for an afternoon in the park. My only real complaint is that the screws do tend to come undone more easily.
Learn more about setback and centred snowboard stances in this article.
At the moment only Burton and Endeavor produce snowboards with the channel system.

Note: Although most bindings come with universal discs to fit in all systems, if you buy Burton EST bindings they will only work with Burton channel boards.
4. Snowboard Binding Size
Your snowboard, bindings and boots should all work together as one unit, so it’s important that they are all the correct size. The best place to start is to get the correct size boot. Then get the correct size snowboard for your weight, height and riding style. Then get the binding that fits your boot but will also fit your snowboard.
Snowboard bindings come in generic sizes small, medium, large and extra large. Within each size binding there fits a range of boot sizes and these are gender specific. For example a Burton small size binding for women will fit US boot sizes 5 – 9.
Unfortunately not all brands work within the same size guides which makes things a little awkward. Once you’ve decided which binding you want, you will then need to reference the brand’s sizing guide to determine which size binding will be correct for your boot.
You will notice on the charts that there is an overlap between sizes. Taking women’s Burton as the example again, we can see a small binding is suitable for US 5 – 9 and the medium binding is suitable for US 9 – 11. So if you are a size 9 you have the choice of a small or a medium binding. This is where you can reference your snowboard and see which size binding would fit best.
One of the most common issues I see is to have bindings that are too big for your snowboard, causing the front of the binding to drag in the snow. This usually happens if you have big feet. In this case, you may have to research how the binding and snowboard match up and possibly opt for a wide snowboard.
Note: Burton Step On bindings have a size guide specific to Burton StepOn boots. The boots and bindings are compatible with each other and cannot be mixed.
5. Material
The material used on a binding will affect it’s weight. This might be a consideration for freestyle riders who spend a lot of time jibbing and jumping or free-riders who like to hike into the back/side country. This is also a big consideration for split-boarders where weight for skinning is paramount.
6. Cost
Last but by no means least is the cost. When you’re starting out you may not want to spend big bucks on something which you haven’t really gotten into yet. This unfortunately may rule out the beginner friendly Burton StepOn option.
However when it comes to bindings at least, it’s generally the case that you get what you pay for. More expensive bindings will typically be lighter and come with more high-tech features. As a beginner though, the best place to spend you money is on good quality boots, the rest can wait.
Read Next
- A beginners guide to splitboarding
- Which snowboard boot lacing system is best?
- How to choose the correct snowboard stance
- The best snowboarding stomp pads
Choosing Snowboard Bindings Summary
There are six factors to consider when choosing the correct snowboard bindings. The flex is dependant on the type of riding you wish to do and the binding type will determine the speed and ease at which you “strap-in”.
The mounting system and size of the binding is influenced by the snowboard you use. Binding material will affect the weight of your snowboard setup and finally cost will affect which features you’re able to purchase.
