
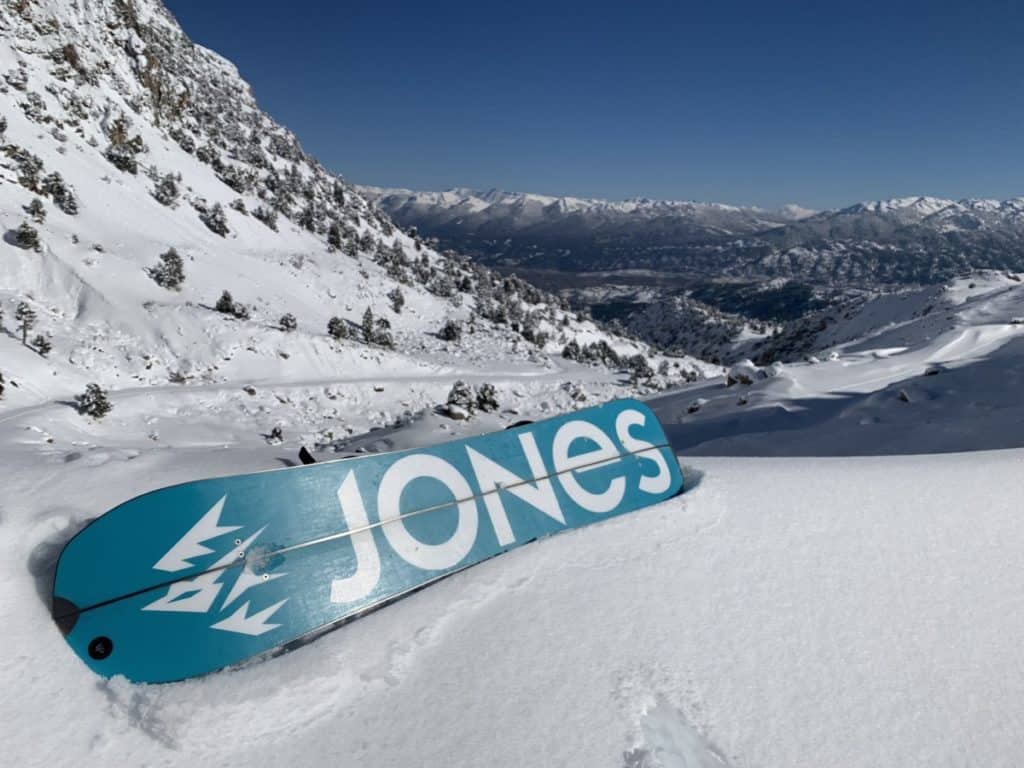
Splitboarding is a great way to get out and enjoy the mountains. With the development of new board technology, the sport has become increasingly popular over the last few years. However, before you jump into splitboarding, it’s important to know what you are doing before your first trip.
I’ve put together a beginner’s guide that will help you learn everything from what makes splitboarding different from snowboarding, what equipment is involved and how to use it, plus a few basic tips on technique to get you going.
Disclaimer: Some links in this article are affiliate links, which means that if you purchase through them I receive a small commission, at no extra cost to you. This helps cover the cost of running this blog. Thanks for your support!
What is Splitboarding?
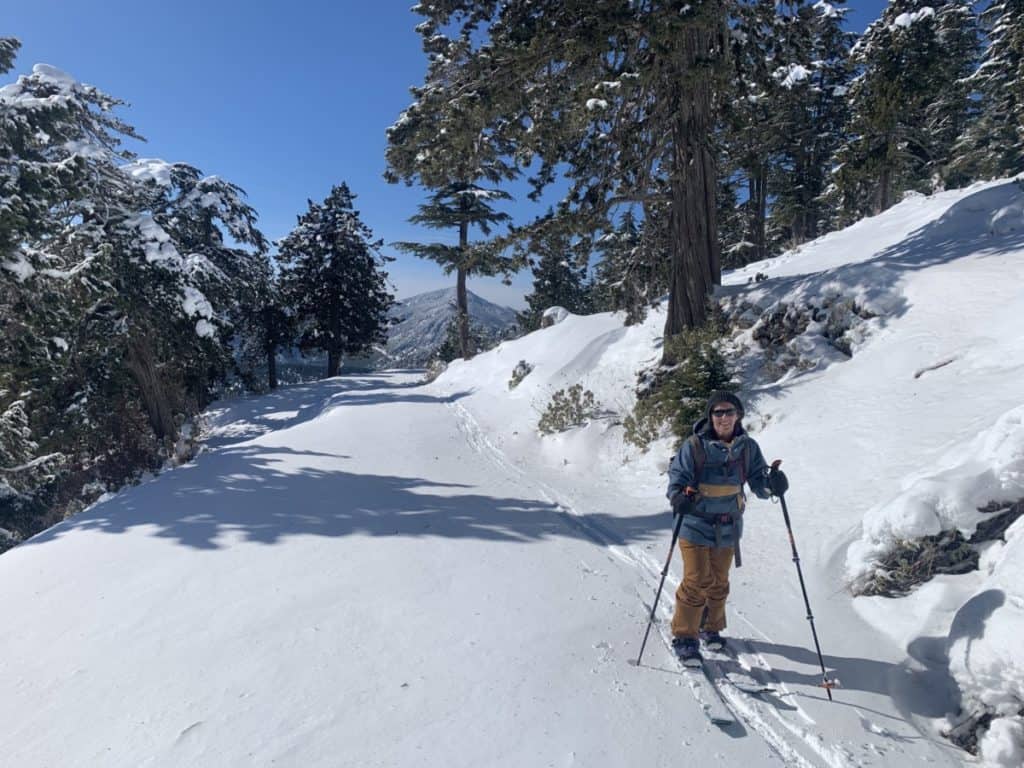
Splitboarding is a method of travel that allows you to ascend and descend the mountains on your snowboard. Unlike snowshoeing which requires you to carry your snowboard on your back, splitboarding lets you attach your board to your feet like skis, making it a more efficient way to travel.
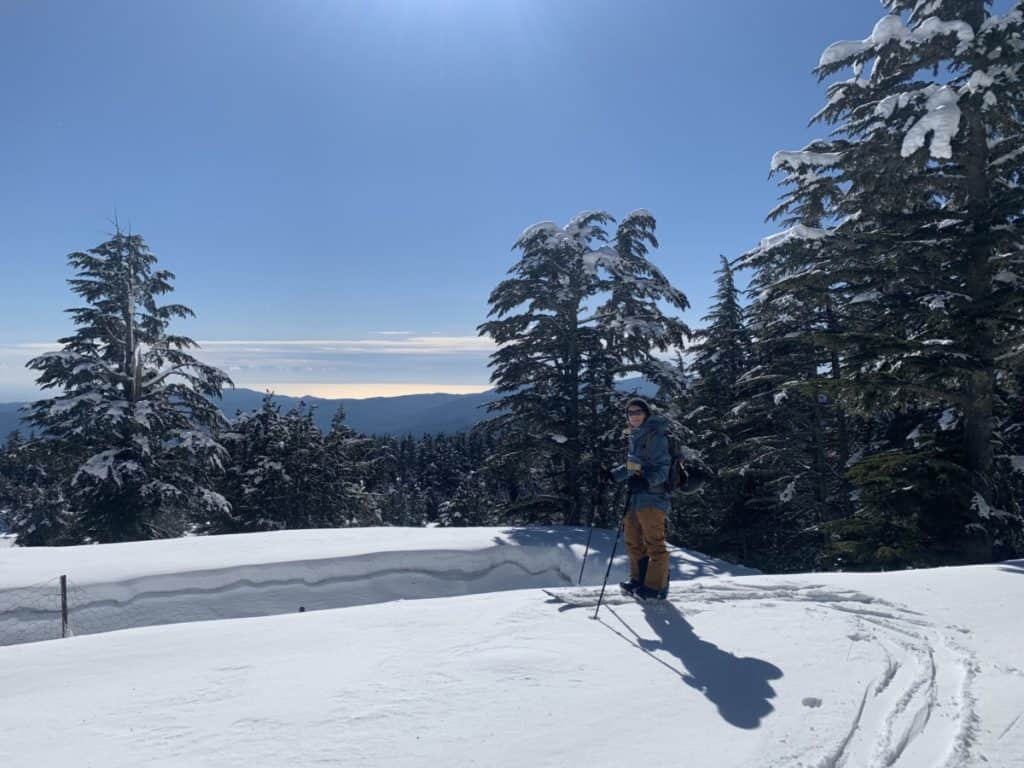
Splitboarding is a great way to explore the backcountry, and it’s a great way to get some exercise. It is also an amazing way to access remote areas that are difficult to reach by any other means.
Although it’s a relatively new sport, splitboarding has quickly gained popularity in recent years. If you’re thinking about trying splitboarding, this guide will give you all the information you need to get started.
Useful Terminology to Get Started With Splitboarding
Skins – these are the material which stick to the bottom of your board to allow you to travel uphill.
Skinning – the act of skiing uphill.
Ski Touring – travelling in the backcountry on skis or splitboards.
Transitions – switching from uphill mode, to downhill mode and vice versa.
Binding interface or puck system – the mechanism that allows bindings to attach to a splitboard.
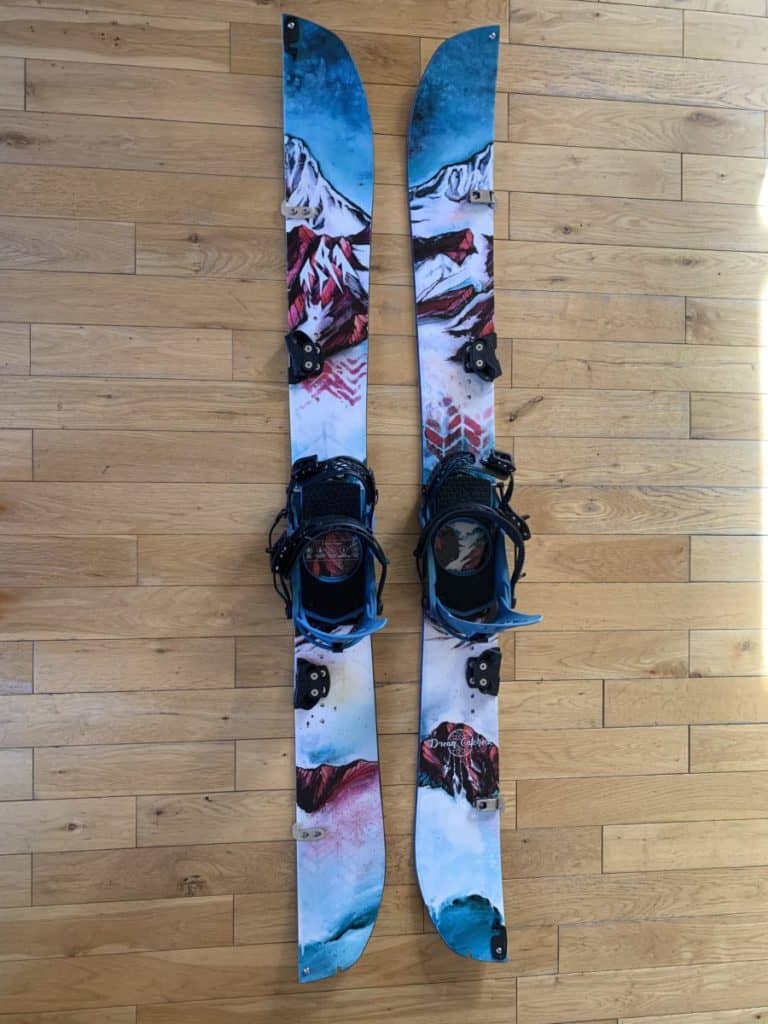
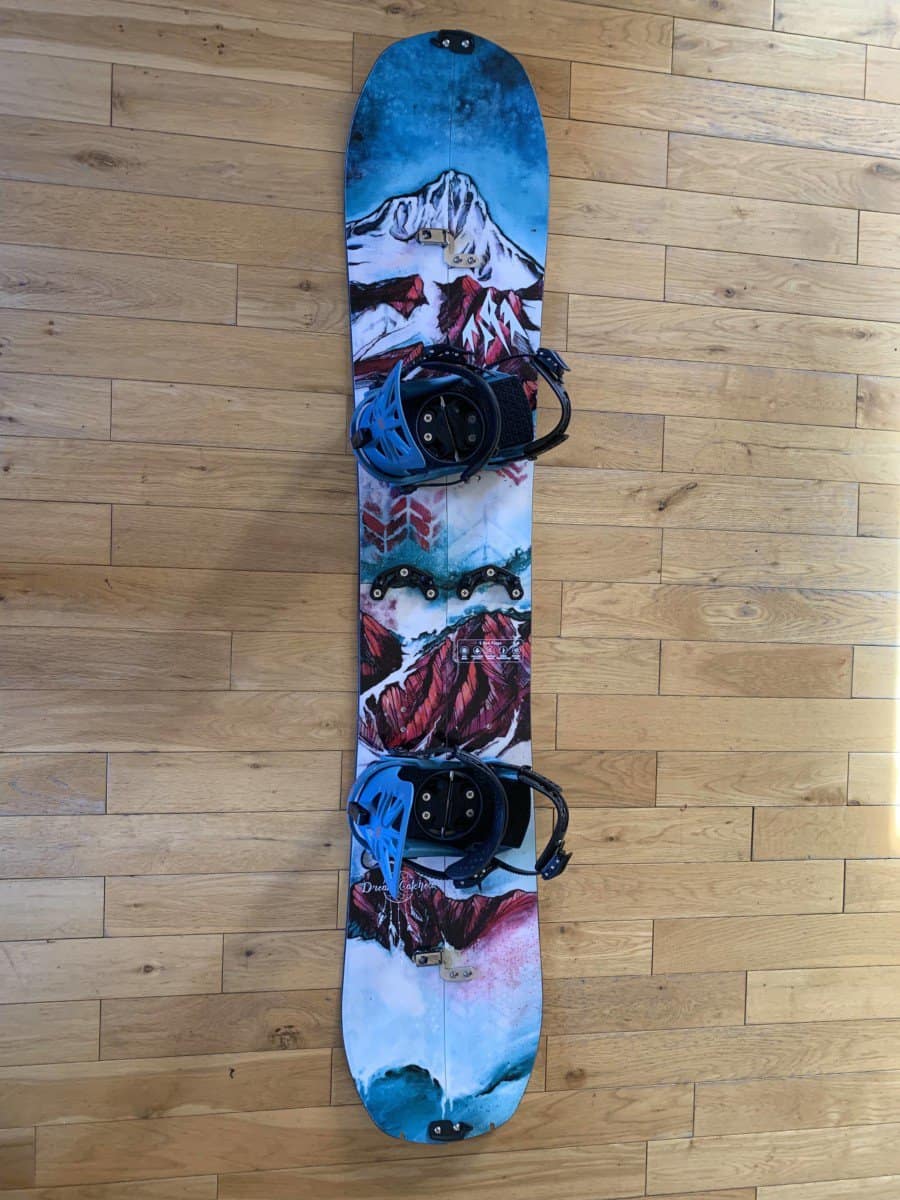
What is a Splitboard?
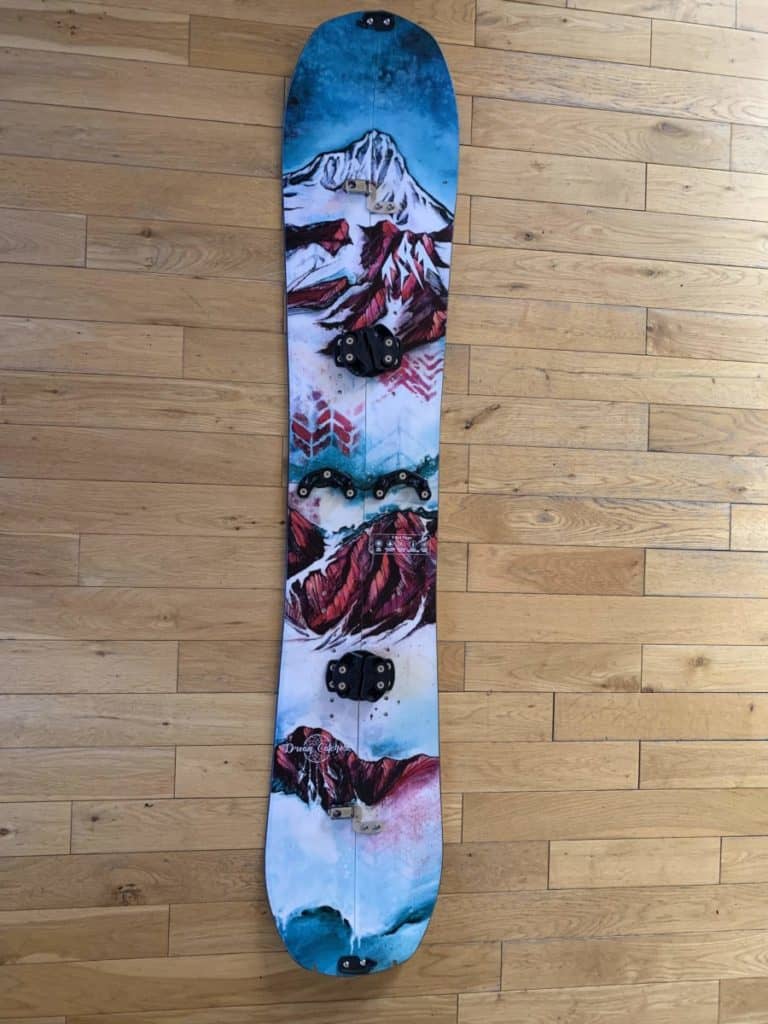
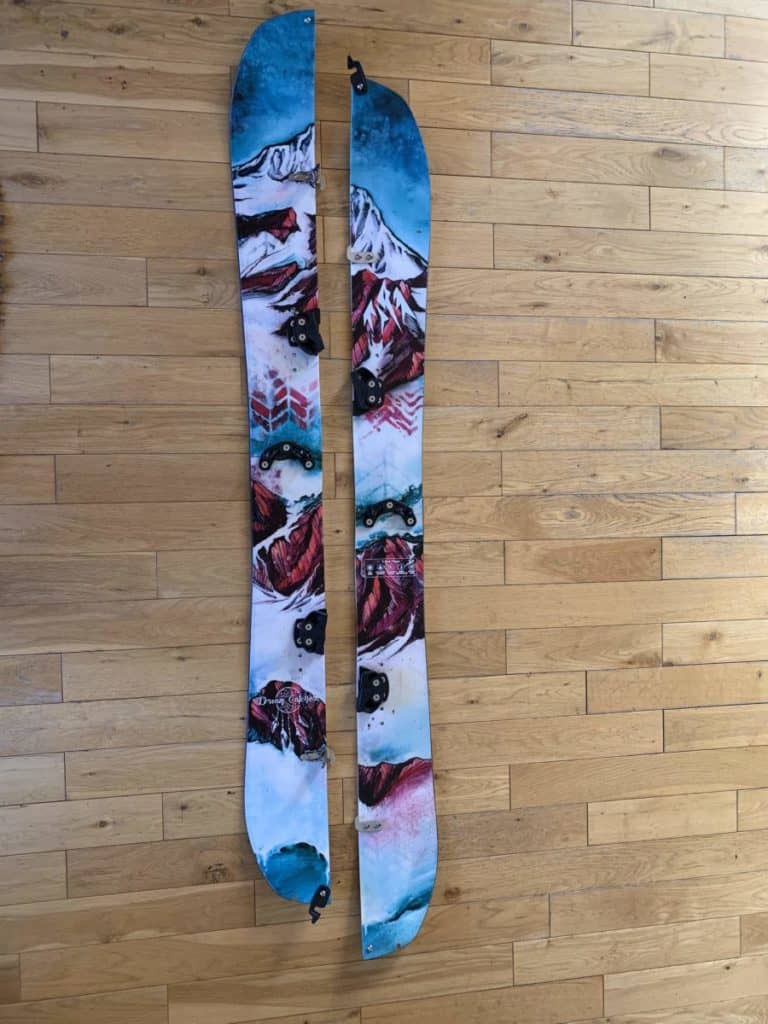
A splitboard is a type of snowboard that can be separated into two halves, allowing it to be used as a pair of skis for uphill and cross-country skiing. The two halves of a splitboard are joined together with clips, latches and bindings to make a regular snowboard for the downhill sections.
Splitboards are typically made of wood, fibreglass, or carbon fibre. The bottom half is much the same as a regular snowboard, while the top half has specific bindings that swivel to allow you to attach your boots lengthways in ski mode or across the board in snowboard mode.
Although regular snowboard bindings can be used with a splitboard, the appropriate adapter pack is required. Splitboard specific bindings are more expensive but they are much lighter, meaning skinning uphill requires less effort.
In order to connect the binding to the snowboard you have a binding interface. There are several different types of binding interfaces made by different brands, and they each work in a specific way using pins and pucks. The binding will also have a riser/climbing bar which is a bar that can be engaged to support the heel when travelling up steep hills.
The Benefits of Splitboarding
The benefits of splitboarding are numerous:
- It lets you travel through the backcountry with ease, without having to carry your snowboard on your back.
- It provides freedom to access terrain outside of the ski resorts.
- Additionally, splitboarding is great for those who want get some exercise or simply want to ride in a different way than they are used to.
How to Get Started With Splitboarding
If you’re a beginner when it comes to splitboarding, it’s important to understand the basics before you hit the slopes.
Here’s a quick guide on how to get started with splitboarding.
- First, you need to have the right gear. In addition to your splitboard, you’ll need bindings, skins and poles. You can either purchase a complete kit, or put together your own gear depending on your budget and preferences. You’ll also need avalanche gear and a bag to put it all in. Once you have all the necessary kit, it’s time to hit the slopes!
- When splitboarding, always be aware of your surroundings and remain cautious at all times. Start by riding easy terrain to get a feel for how your board handles, and be sure to take breaks often so you don’t get too tired. As you become more comfortable with splitboarding, you can start exploring more challenging terrain.
- Remember, safety is always the number one priority when splitboarding. Be sure to follow all the guidelines and rules set by the resort you’re riding in, and if in the backcountry, always ride with a friend.
- Before splitboarding beyond the resort, sign up for an Avalanche Safety Course and consider heading out with a guide for your first trip.
How Do I Set Up My Splitboard?
The first step in your splitboarding adventure is to learn how to set it up. Before you begin, you will need to attach the binding interface onto the board. Instructions on how to do this are usually provided in the binding interface pack. You will need to consider stance width and binding angles, just as you would with a regular snowboard.
Once this is done, split the board in half by unclipping the clips at either end of the board and unlatching any other latches along the centre of the board. Once unclipped, switch each half over so that the middle of the board is now on the outside of each ski.
Each binding system works slightly differently but usually in ski mode, the binding is attached to the board via a pin that slides through the front section of the binding. The rest of the binding is free to move up and down, and is used the same way as a cross-country ski.
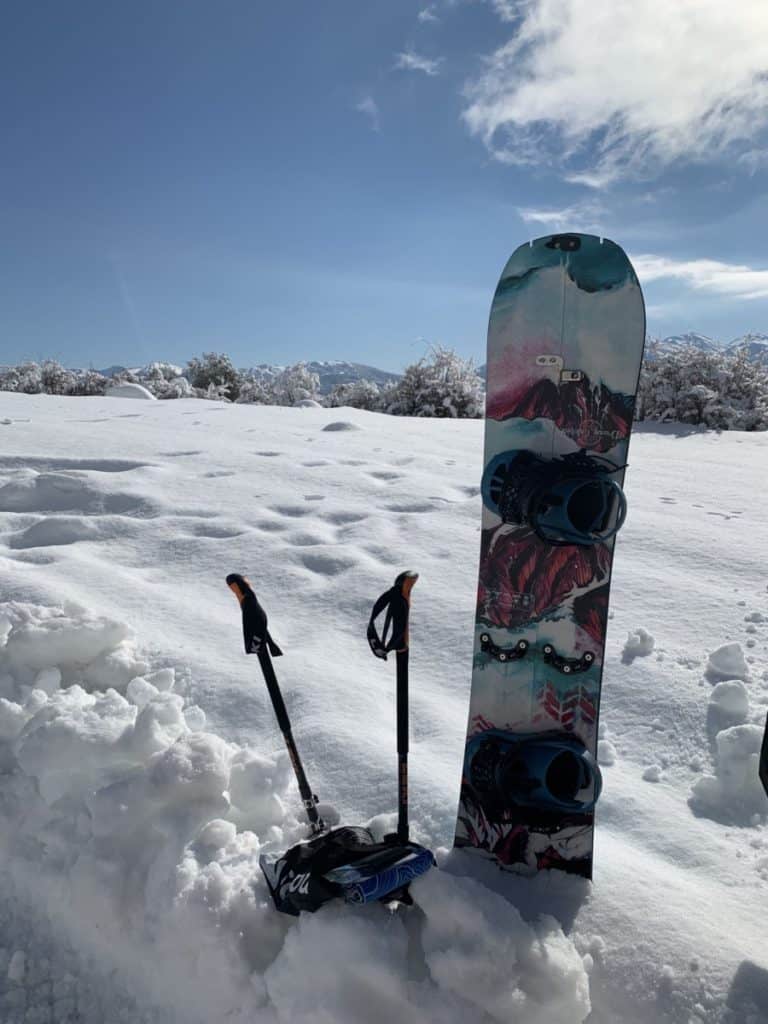
Now you can attach the skins to the base of each ski. If you buy a splitboard package you can opt to have the skins pre-cut to match your board. If not you will have to cut them to size yourself. Be sure to attach them the correct way so that the skins will allow you to glide forward but provide grip if moving backwards. Use your hand to run up and down the skins to double check.
Once they are cut they should be specific to each ski but it will take practice to master putting the skins on quickly.
When you want to transition to snowboard mode, simply peel off the skins and remove the bindings. Clip the board back together and reattach your bindings. Now enjoy the fruits of your labour with (hopefully) some beautifully untouched powder turns!
- Tools required to setup your snowboard:
Where Should I Go?
Once you’ve got your splitboard all set up, the next step is to choose a destination. There are many factors to consider when choosing the perfect place to go splitboarding.
- When it comes to backcountry access, you want to choose an area that can be reached from your car or other method of transport.
- If venturing somewhere new, find someone who has been to that area before so they can give you advice on what routes to take.
- Be aware of your fitness level for the ascents and your skill level for the descents.
- The terrain options are also important as you want to make sure there are plenty of options for you to explore, whilst at the same time being safe. Avoid extremely steep terrain and opt for more mellow areas which are fun but less prone to avalanche.
- And finally, you want to make sure the snowpack is stable. Don’t want to be putting yourself in danger by riding in unstable conditions.
Splitboarding in a resort (sidecountry) versus splitboarding in the backcountry
There are a few key differences between splitboarding in a resort versus the backcountry.
- First, when splitboarding in a resort, you have to follow the ski area boundaries and marked trails. This limits your options for exploring and can be frustrating if you want to venture off the beaten path.
- Second, there are typically more people around in a resort, which can make it more difficult to find solitude.
- Finally, resorts typically have more amenities (e.g., toilets, restaurants etc.), which can make them more convenient but also more expensive.
I certainly recommend becoming familiar with your splitboard at a resort first, before venturing out into the backcountry.
What Should I Bring With Me On a Splitboarding Trip?
You should bring your regular snowboard equipment, such as helmet, boots, goggles and gloves. You will also need a splitboard with bindings, skins, and poles. You’ll also need a touring backpack to carry extra equipment in.
Remember that you will be exercising hard, so make sure you bring plenty of layers and choose materials that are breathable. Start off with minimal layers at the bottom, which you can then add to once you are at the top.
If splitboarding in the backcountry, you should also bring your avalanche gear (airbag, beacon, probe and shovel) and extra layers just in case. In the backcountry, it is important that you also bring spare equipment. For example, if your binding breaks then it will be very difficult for you to get down the mountain, so bring extra screws and straps.
Carry sunscreen that’s waterproof and I prefer to use a baseball hat whilst skiing uphill as it’s much lighter and more breathable than a helmet. You might also choose lightweight gloves for the uphill and carry warmer gloves in your backpack for the descent.
Basic Splitboarding Tips
As with any activity, it’s important to be safe and prepared for your splitboarding adventures.
- If you’re splitboarding at a ski resort, just be sure to conform to the rules and regulations set out by the resort, and check that uphilling is allowed.
- If you’re heading into the backcountry, make sure you have attended an avalanche safety course and are confident using the skills you have learnt. Avoid heading out on your own and instead travel with someone who is also trained in avalanche safety. You need to be able to rescue each other if the worst happens!
- Before you go out, check the avalanche forecast and weather conditions. If it’s snowing heavily or high winds are forecast, you may want to stay at the resort. Also be weary of melting snowpack on hot days.
- Know your ability level and the terrain you’re heading into so you can plan your route and backup route accordingly. In the backcountry, understand that there won’t be any ski patrol to rescue you.
- Check your equipment before leaving for the day and if possible, bring spares in case something breaks. Make sure all batteries are fully charged. (Beacons, GPS, phone)
- Give yourself plenty of time, let someone know where you’re headed and what time you expect to be back.
- Practice your transitions at home so that you’re familiar with it once out in the snow.
Splitboarding is one of those sports where planning and preparation is key.
The Best Splitboarding Gear
When it comes to gear, you don’t need the fanciest or most expensive splitboard set up to have a great time – but you do need to make sure you have the right gear, and that it’s in good working condition.
Splitboard
There are a few key things to look for when choosing a splitboard:
- First, make sure the length is appropriate for your ability level. Splitboards are typically longer than your regular snowboard since most of the time is spent in deep powder (or at least that’s the goal!)
- Second, think about the type of terrain you’ll be riding – powder, steeps, trees – and choose a board that will perform well in those conditions. This will typically relate to the flex, camber and sidecut of the board.
- Consider a board with Magne traction to aid with the uphill traverses.
- Third, consider your budget. Splitboards can range in price from $600 – $2000+, so it’s important to find something that fits both your riding style and your wallet.
Bindings & Interface
Once you’ve got your board, you’ll need bindings, and a binding interface. Again, there is a range of options available at different price points, however, it’s important to know which boards work with each binding interface and binding as they are not all compatible.
If you like the way a particular binding interface works you’ll have to work backwards to find out which bindings and board are compatible with that interface. If you have your heart set on a particular board, then you’ll have to be flexible with your choice of binding and binding interface to find one that fits.
Boots
You’ll also need snowboard boots if you don’t have them already. This also applies to goggles, gloves and outerwear. For boots, think about warmth (insulation), weight, stiffness and what type of boot lacing system you prefer.
Skins
For skins, consider the material (mohair vs. nylon) and length (tip-to-tail sizes vary). If you buy a splitboard package the skins come pre-cut to the length of your board, otherwise, you’ll have to buy an appropriate length and trim them to fit.
Poles
As a snowboarder you won’t be used to carrying poles but they are essential for helping you travel uphill. Good poles for splitboarding need to be lightweight and compact, additionally they fold down small so they can be packed away on the descent.
Backpack
Choose a backpack that is light but has enough capacity to fit everything in. Alternatively, you may opt for an airbag which comes with a backpack, much like this BCA Avalanche Airbag.
Avalanche gear
Last but not least, make sure you have all the essential safety gear: beacon, probe, shovel, and first-aid kit. With a bigger budget you could also opt for an airbag. Avalanche safety should be taken seriously – get trained, know how to use your gear, and always ride with a partner.
A Few Top Tips on Splitboarding Technique
Splitboarding is a relatively simple sport and the basics can be learned quickly, although the ‘kick turns’ take a bit of practice.
Once on the slope, stand tall with your knees slightly bent and with your weight centered over your feet. Whilst skinning you want to push the ski forward and glide, rather than lifting up your feet with every step. This is a more efficient way of travelling and will prevent your leg muscles from becoming fatigued.
Make use of your poles through using your arms to lightly help push along – just think of using a cross trainer in the gym! Find a steady rhythm with this and don’t rush.
When travelling up steep hills, skin in zigzags, diagonally up the hill, rather than trying to head straight up. (Much like hiking trails use switchbacks to ascend a mountain). Trying to skin straight up will exhaust your legs and the skins will struggle to maintain grip.
Travelling is much easier on packed snow rather than on deep powder, so where possible use tracks or groomers for your ascent. Conversely, your skins won’t provide much grip on icy terrain so avoid icy areas if possible.
Finally, master the kick turn! When traversing uphill you will need to turn the corner and switchback on yourself. When you are ready to make the turn, lift your uphill ski and turn it so it’s facing as close to the opposite direction as possible. Aim for just past 90 degrees. Plant your uphill pole on the outside of the uphill ski. With the downhill pole firmly planted, push away from it and lift your downhill ski up so it joins the other ski facing the new direction. Practice on flat terrain first before using it on a hill.
Final Thoughts on a Guide to Splitboarding
I hope this guide has helped you understand what splitboarding is and how to get started. I love heading out on splitboard adventures. There’s something special about getting away from the resort and enjoying the winter wilderness.
Remember, splitboarding is a great way to enjoy the backcountry and get some exercise, but it’s important to be prepared before heading out. Always check the weather forecast and avalanche conditions before setting off, and be sure to take all the necessary safety gear.
Have fun and stay safe!