
If you’ve recently bought a snowboard you might have heard that a crucial part of snowboarding is having a well-maintained snowboard. Waxing your snowboard regularly can improve your riding experience and help your board glide smoothly on the snow.
Whilst local snowboard shops or ski resorts provide services to wax your snowboard, with a little equipment and know-how it’s an easy process to carry out at home.
In this article, we’ll show you the step-by-step process of how to wax a snowboard at home and what you need to get started.
Disclaimer: Some links in this article are affiliate links, which means that if you purchase through them I receive a small commission, at no extra cost to you. This helps cover the cost of running this blog. Thanks for your support!
Steps To Waxing Your Snowboard At Home
1. Gather Your Waxing Supplies
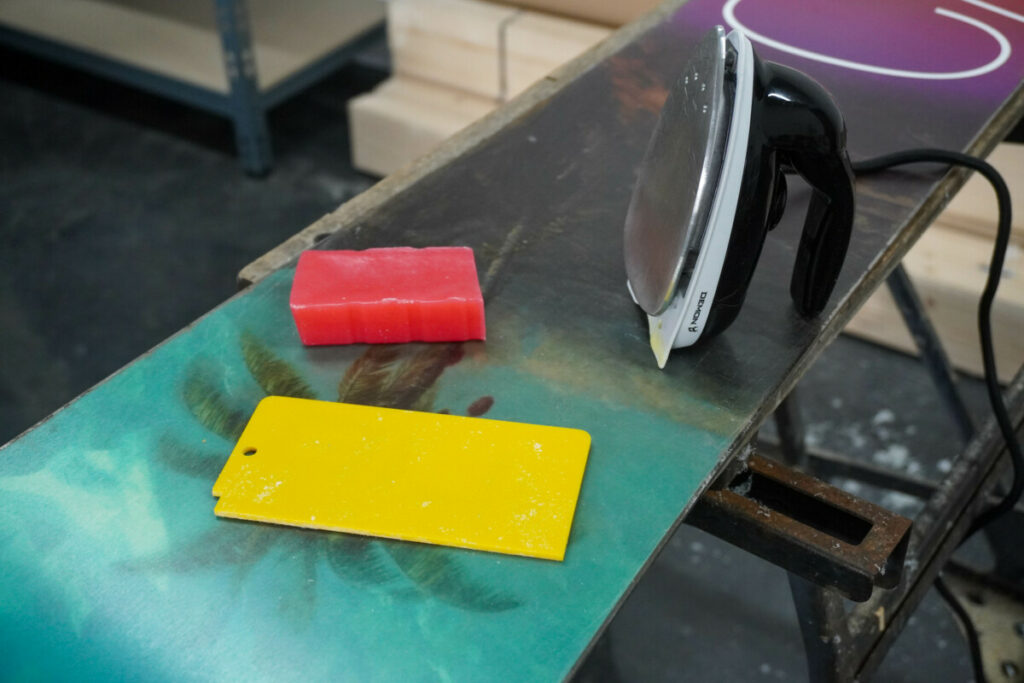
Before you start waxing your snowboard, it’s essential to have all the necessary tools and supplies. Here’s what you’ll need:
- Snowboard wax – This blended wax is suitable for all temperatures
- Waxing Iron – Swix make a quality iron at an affordable price
- Scraper – Choose a long scraper designed for snowboards
- Nylon Brush – This wax brush is good value
- Rag or cloth
You can buy these items separately or you can get them together in a kit. If you plan on sharpening your snowboard edges too, you might consider buying an all in one wax and sharpen tuning kit such as this one. A kit like this is fairly compact, so mine has a permanent place in my snowboard bag.
2. Prep Your Board
Take the bindings off or at least loosen the the screws in the base of the bindings. This ensures the base of the board is entirely flat and there aren’t any divots poking through from the screws behind.
2. Clean Your Snowboard
It’s important to clean your snowboard before waxing it to ensure that the wax adheres properly. You can use a soft brush to remove any dirt, grime, or old wax from the surface of your board. You can also use a cloth dipped with some alcohol to wipe down your board to ensure any smaller bits of dirt and grime are removed.
Related Reading
3. Choose the Right Wax
Different types of wax are available for different snow conditions, so it’s essential to choose the right one for the temperature and snow conditions you’ll be facing. Here are some of the most common types of snowboard wax:
- All-temperature wax: suitable for all snow conditions and temperatures
- Cold-temperature wax: ideal for colder temperatures, typically below 20°F
- Warm-temperature wax: best for warmer temperatures, typically above 32°F
4. Melt the Wax
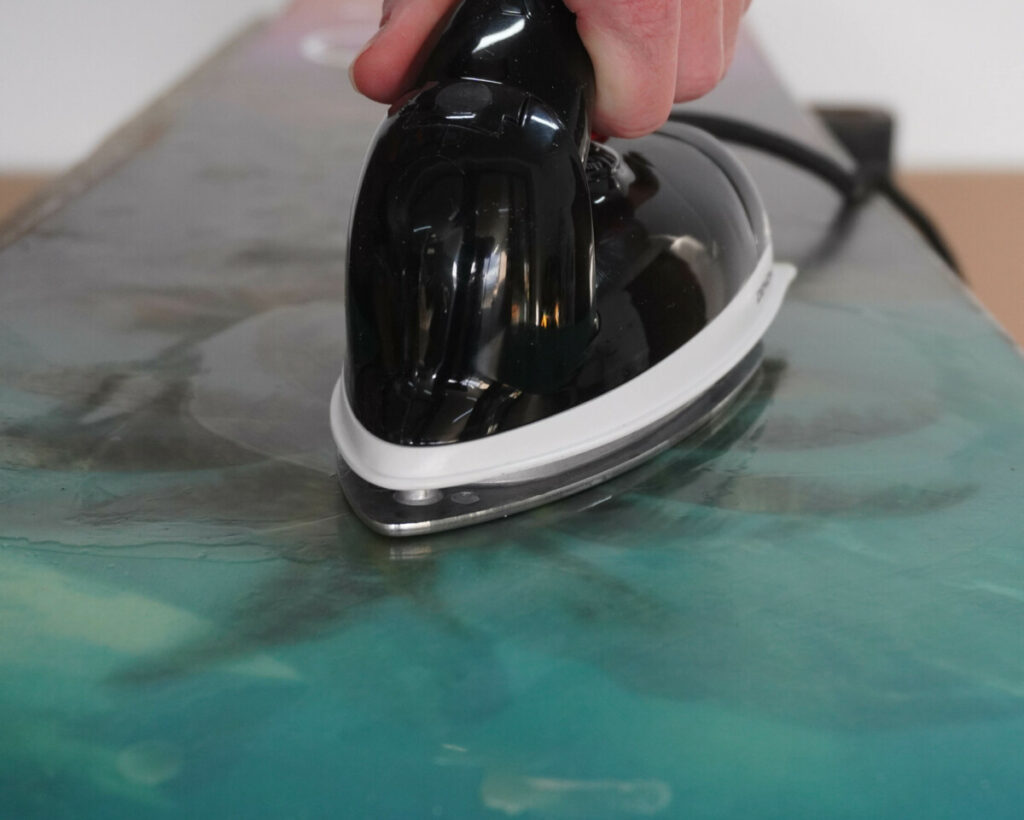
Once you have chosen the right wax, it’s time to melt it. You can use an iron set to a low or medium temperature to melt the wax. Be careful not to set the iron too high, as this can cause the wax to smoke and leave a residue on your board.
Hold the iron over the board and let the wax drip onto the base. The board doesn’t need to be smothered in wax but ensure there is a decent coverage, especially near the edges where the board gets especially dry. It’s not necessary to wax right to the tip and tail, just go to where the board naturally curves away.
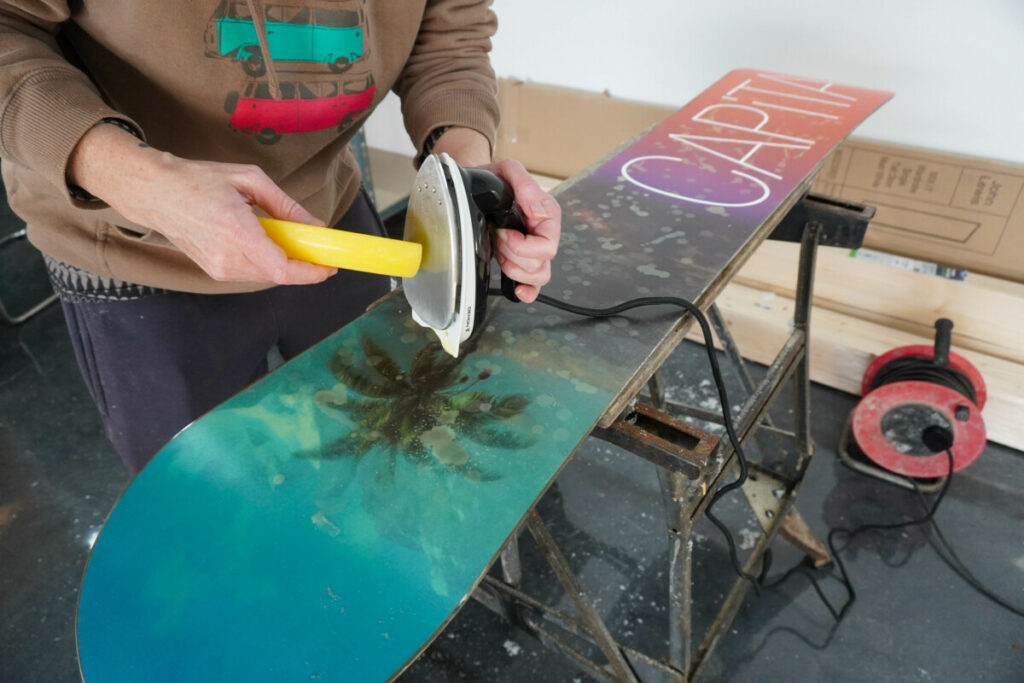
5. Apply the Wax – Start Ironing!
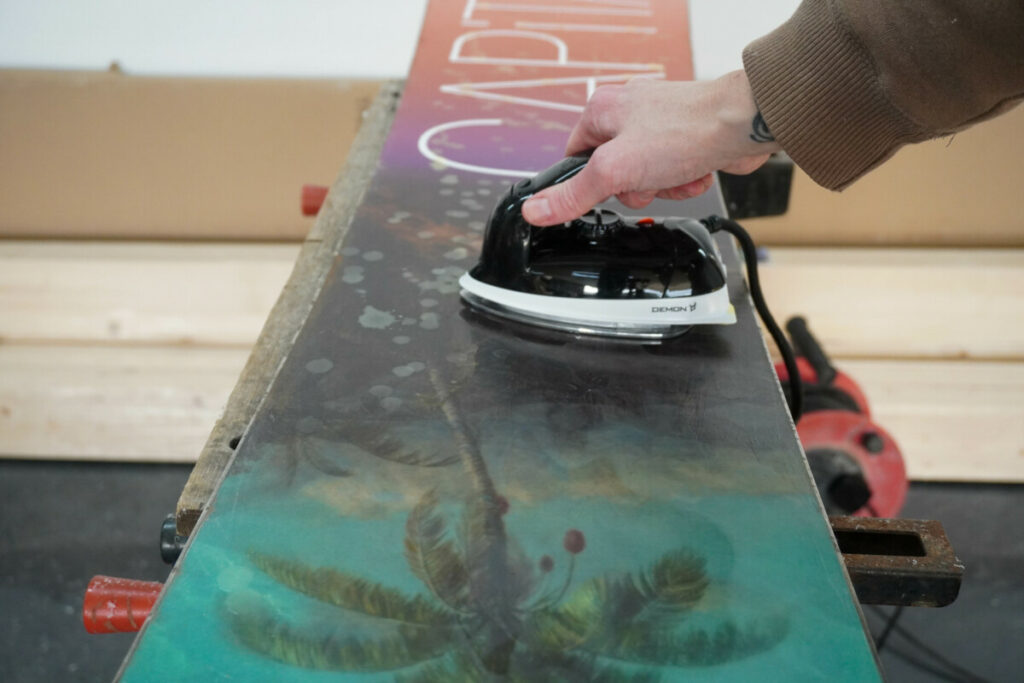
Once the wax is melted, it’s time to spread it evenly to your snowboard. Use the iron to spread the wax evenly over the surface of your board. Start from either the nose or tail and iron the whole board making sure the wax is spread all the way out to the edges.
Be sure to keep the iron moving so it doesn’t heat up the snowboard too much and damage the board. (Just as you would if you were ironing your clothes!)
6. Let the Wax Cool
After applying the wax, it’s important to let it cool. This will allow the wax to penetrate to the pores and adhere to the surface of your board. If you have the time, I like to let it cool overnight but in reality an hour should be long enough. Just let the wax cool naturally rather than leaving it outside in the cold.
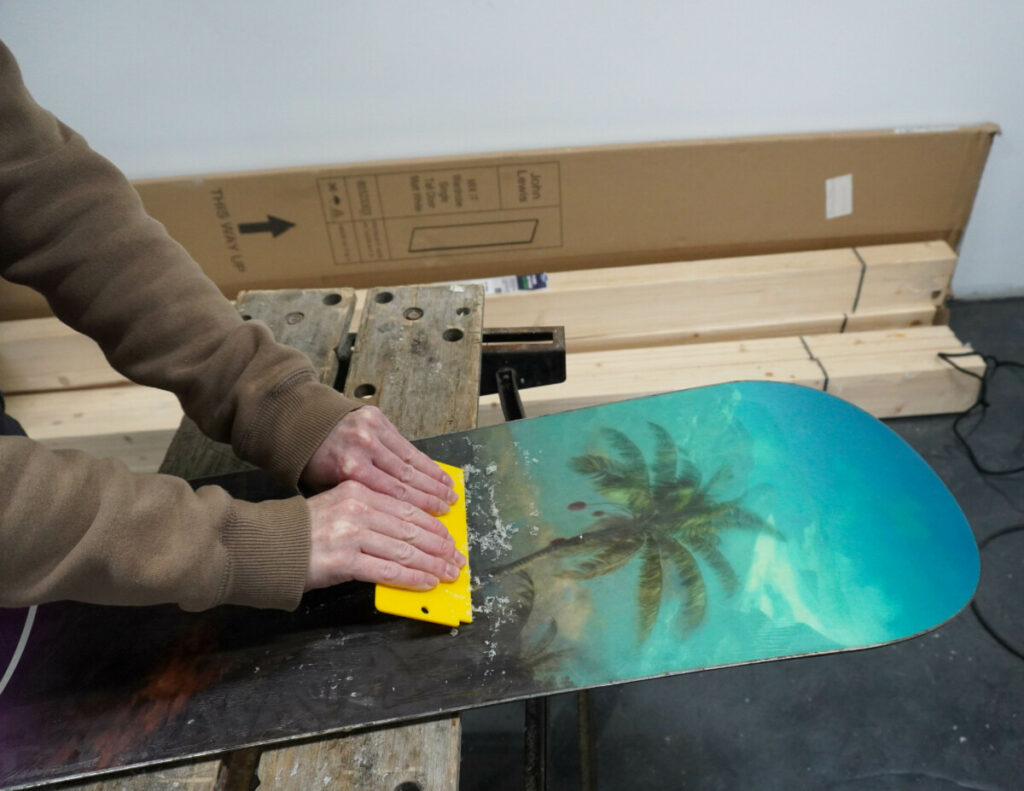
7. Scrape the Wax
Once the wax has cooled, it’s time to scrape it. Use a scraper to remove the top layer of wax from your board. Hold the scraper with both hands, at a 45 degree angle to the board and push the wax off. Be sure to scrape in the same direction as the grain of the board, from tip to tail, rather than across it.
Keeping scraping, using long strokes until no more wax comes off. Use the notch at the side of the scraper to scrape along the edges.
8. Brush the Wax
After scraping the wax, use a nylon brush (wax brush) to buff out the wax and optimise the tune. 15 – 20 firm brush strokes from nose to tail will complete the job. Whilst this step isn’t a must-do when waxing your snowboard, it does help to take the tune to the next level.
9. Put Your Bindings Back on
Once all of the waxing steps are complete you can put your snowboard bindings back on the snowboard. For a guide to setting up your snowboard stance click here, or for more information on the best snowboard binding angles click here.
Next Steps
After waxing your board, the next step is to tune your edges. For a guide to sharpening your snowboard edges see this article.

How To Wax A Snowboard Frequently Asked Questions
How often should I wax my snowboard?
It’s recommended to wax your snowboard every 3-7 days, depending on the frequency of your usage and the snow conditions. If you’re riding full days, everyday this will sense but if you’re only riding a few days per season one wax per year will be enough. Similarly, if you’re riding in wet, slushy conditions or on hard packed ice, you may need to wax your board more frequently.
You can tell if you need to wax your snowboard by how it’s performing. If you’re crawling along the flatter sections whilst you friends are already waiting at the chairlift, it’s time to wax the board. You can also tell by looking at the base as it will appear dry and pale in colour.
Can I use candle wax or paraffin wax on my snowboard?
No, you should never use candle or paraffin wax on your snowboard. These types of wax are not formulated for use on snowboards and can damage the surface of your board. Always use a specialized snowboard wax.
Can I reuse wax on my snowboard?
No, once you have scraped the wax from your board, it should not be reused. The wax will have lost its effectiveness and will not provide the same level of performance as a fresh application of wax.
Final Thoughts On How To Wax Your Snowboard At Home
Waxing your snowboard is an essential part of snowboard maintenance that can improve performance and lifespan, allowing your board to glide smoothly over the snow. By following the steps outlined in this guide on how to wax a snowboard, you’ll be able to wax your board like a pro, ensuring the best possible ride on the slopes.
Whether you’re a seasoned snowboarder or just starting out, taking the time to wax your board can make a big difference in your overall performance. So grab your tools, choose the right wax, and get ready to tune that board.