
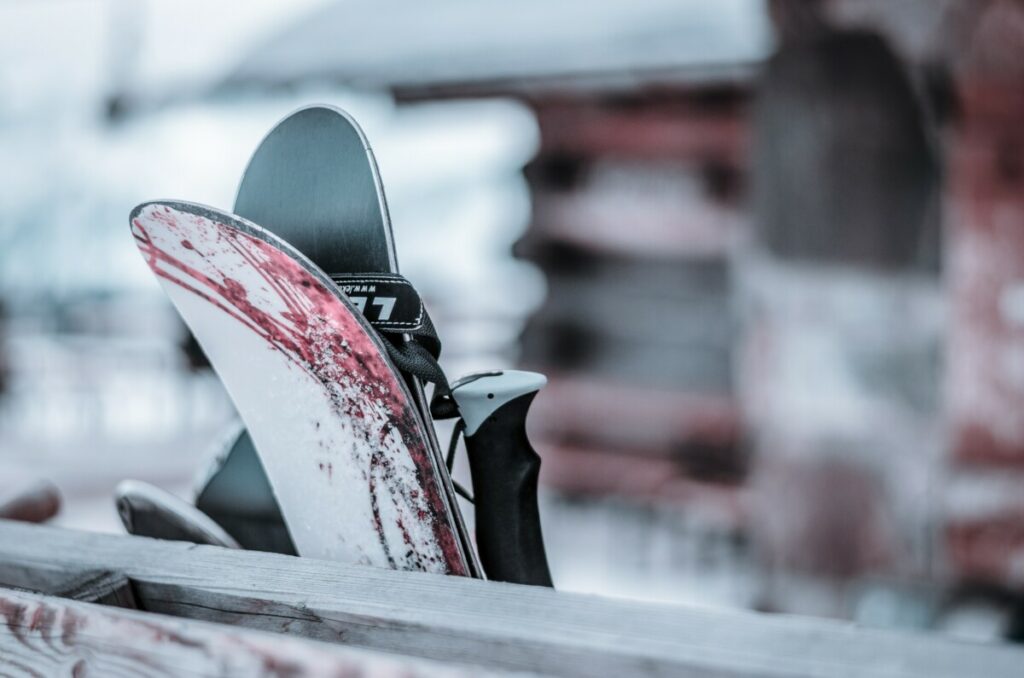
The bases of your skis are made from a fairly soft plastic which is specifically designed to slide on snow and ice. It will also absorb different waxes in order to optimise this performance. However, this material is softer than rocks so damaging your skis is inevitable at times, especially in early or late season.
Most ski shops will happily service and repair your skis for a fair price and if you are lucky they may get you back on the slopes pretty quickly or by the next morning. However, repairing skis yourself at home is a useful skill to learn and will save you time and money. With a little practice it won’t take very long and can be very rewarding.
This is a beginners guide to repairing ski bases.
Disclaimer: Some links in this article are affiliate links, which means that if you purchase through them I receive a small commission, at no extra cost to you. This helps cover the cost of running this blog. Thanks for your support!
When Should I Repair My Ski Bases?
Small scratches and even quite deep gouges may not affect your skiing enjoyment at all.
Any protruding material though may affect how a ski performs and a quick fix on the hill might simply involve scraping the bases so they are totally flat and without protrusions, allowing you to ski out the rest of the day. This can either be done with a scraper or by using the edge of another ski to remove and flatten material.
Small scratches won’t necessarily need repairing but deeper gouges can be repaired relatively easily using Ptex and some simple inexpensive tools.
The dreaded core shot however, will need to be taken seriously because as soon as the core of your ski is exposed there is a risk of water getting into the wooden part of the ski. This could result in the skis deteriorating very fast. Any core shots are best repaired ASAP and may require a little more work than a relatively simple Ptex repair, especially if they are big or close to the skis edge.
Fear not though, as most core shots can be repaired with ease at home with some simple equipment. A material called Base Weld or Metal Bond can be used in much the same way as Ptex to half fill the gouge and seal the core from water ingress.
This is usually applied using a soldering iron to melt the material into the core of the ski and thus sealing the damage, before finishing the repair with Ptex. It is also possible to use a waterproof epoxy sealant to seal the base before topping off with Ptex.
Core shots and deep gouges next to the skis edge can potentially be fatal for a set of skis if not repaired promptly and correctly. In this case I would recommend getting your local trusted ski shop involved until you have gained plenty of experience with simple repairs first.
For this article we will concentrate on Ptex repairs only.
Equipment Required to Repair Ski Bases Using Ptex
- Ptex: These are generally supplied as black or white cylindrical rods called candles of about 10 to 20 cm long.
- Lighter or blow torch to light the Ptex candles
- Metal scraper, specifically one designed for use on skis and snowboards.
- Wire brush with medium to soft bristles.
- Craft knife. (A safety razor blade might also be useful)
- Cloth.
- Sandpaper.
- Work gloves to protect you from burning ptex.
Optional equipment (Ideal but not necessary)
- Wax removal liquid if desired.
- Rubbing alcohol, to remove the wax removal liquid.
- Ptex application gun. This is an electrical device much like a glue gun which makes applying Ptex very simple.
How to Apply a Ptex Repair to Your Skis: Step by Step Guide
1. Ski Base Preparation
- Allow your ski/s to dry out thoroughly.
- Secure your ski/s to a bench or table with the damaged surface facing up.
- Be sure you are working away from any flammable substances as you will be using a naked flame for this method of repair.
- Ensure you’re in a well ventilated location to avoid breathing any fumes produced in the process.
- Clean the area of damage with a wire brush.
- Be sure to remove any wax from the area to be repaired. Wax removal liquid is ideal if you have some available or clean thoroughly with a wire brush. Rubbing alcohol can be used to remove any wax removal liquid and residues.
- Using a sharp knife trim any sharp edges to the damage to ensure there are no protrusions. You can cut a small chamfer around the damage in order to create a good surface area for Ptex to adhere to.
- Where necessary repair any areas of exposed core. If in doubt take your skis to your prefered ski technician.
- Lightly sand the area to be repaired to help adhesion.
2. Applying the Ptex
- Firstly light the end of the Ptex candle using a match or lighter.
- Be very careful not to get the burning Ptex on your skin as it will cause a nasty burn.
- Gloves are a very good idea for this.
- Once alight, angle the burning end upwards so as to limit the size of the flame and ensure it burns with a blue flame so as to avoid carbon residue in the repair. A yellow flame is undesirable.
- Use your metal scraper under the burning stick to catch any drips until you are ready to start the repair.
- Hold the burning stick very close the the damage in the ski. The heat from the flame should warm the skis base whilst at the same time drips of Ptex will flow into the damaged area. Be careful not to burn the ski base. This process is a little bit like welding.
- As the liquid ptex drips or flows you should move along the damaged area until it is evenly filled and even slightly overfilled. With wide sweeps you will need to weave from side to side to ensure an even filling of the gouge.
- For deep gouges it is a good idea to carry out this process in stages until the damage has been filled in completely. Remember you will have to scrape off any excess so don’t get too carried away.
Using a Ptex application gun
A base repair pistol is available which is an electric tool designed to melt and apply your Ptex. This works much like a glue gun.
Once the gun has been plugged in and has warmed up you simply instal a Ptex candle into one end and pull the trigger. The liquid Ptex will come out of the nozzle and can be directed easily into the damaged area as required.
All the preparation and finishing will be the same as for the burning candle method, although it’s a good idea to pre-heat the damaged area with a small blowtorch before applying the Ptex.
3. Finishing
- Once you have the damage completely filled with Ptex allow the area to cool for 15 minutes or so
- Then scrape the area flat using a sharp metal scraper, being careful not to cause any further damage to the ski base
- Once the are is completely flat, finish by lightly sanding with sandpaper to get a smooth, finish ready for waxing.
- If done well your Ptex repair will not be visible except for a possible difference in colour.
- Complete the job by hot waxing your skis and you are now ready to hit the slopes.
Read Next
Final Thoughts On Repairing Ski Bases
Learning to carry out repair and maintenance tasks on your skis not only gives great satisfaction but it can also save a lot of time and money. Your skis will perform at their best for longer if you keep the bases in optimum condition.
When starting out take your time and stick to the simple repairs. If possible, practice on an old pair of skis that you are not too precious about until you have built up some confidence. Once you are comfortable with the process you can progress to more technical repairs.
For very badly damaged skis it may well be a good idea to involve your local ski shop. Skilled ski technicians have lots of experience and the best equipment at their disposal.